fmAccounting Link (MYOB AccountRight Edition) v2 Trial Version
You can download a 14 day trial version of fmAccounting Link (MYOB AccountRight Edition) v2 here.
Some notes about the trial version:
- it's limited for 14 days
- the file is locked and will stop working after 14 days
- you will not be able to import data from the trial version into the version that you purchase
- you can use the trial with an AccountRight Company File in the MYOB Cloud or on your local desktop/network - see below for instructions on setting up the trial for either the MYOB Cloud or local Desktop API connection
The download is a .zip file – please make sure you unzip/extract the .zip file first before opening the fmAccounting Link (MYOB AccountRight Edition) file. On Windows this can be done by right clicking the .zip file and select "Extract All". On the Macintosh you can simply double click the .zip file to unzip the file (if it was not unzipped automatically after it was downloaded).
Cloud API Setup
Setting up the fmAccounting Link (MYOB AccountRight Edition) file to work with your MYOB Cloud hosted company file only takes a few minutes - you will login to your my.MYOB account from within the fmAccounting Link file to approve access and generate the tokens used for subsequent requests to the MYOB AccountRight API.
To begin click on the MYOB COMPANY navigation button at the top of the screen which takes you to the MYOB Preferences screen where you can start the authentication process and select the Company File you wish to use:

API Type: select Cloud
Redirect URL: enter https://www.databuzz.com.au (this should be set by default)
You can ignore all the other options at this stage. You are now ready to test that you can authenticate against the Cloud API. Click the Authenticate button and a new Card window showing a Web Viewer will appear for you to login to your my.MYOB account:

Once you've entered your login details (and optional verification code if Two-factor authentication is setup) you will be prompted to approve access to the AccountRight company file you select (this only appears once). Select the MYOB business file from the drop down menu then scroll to the bottom of this window:
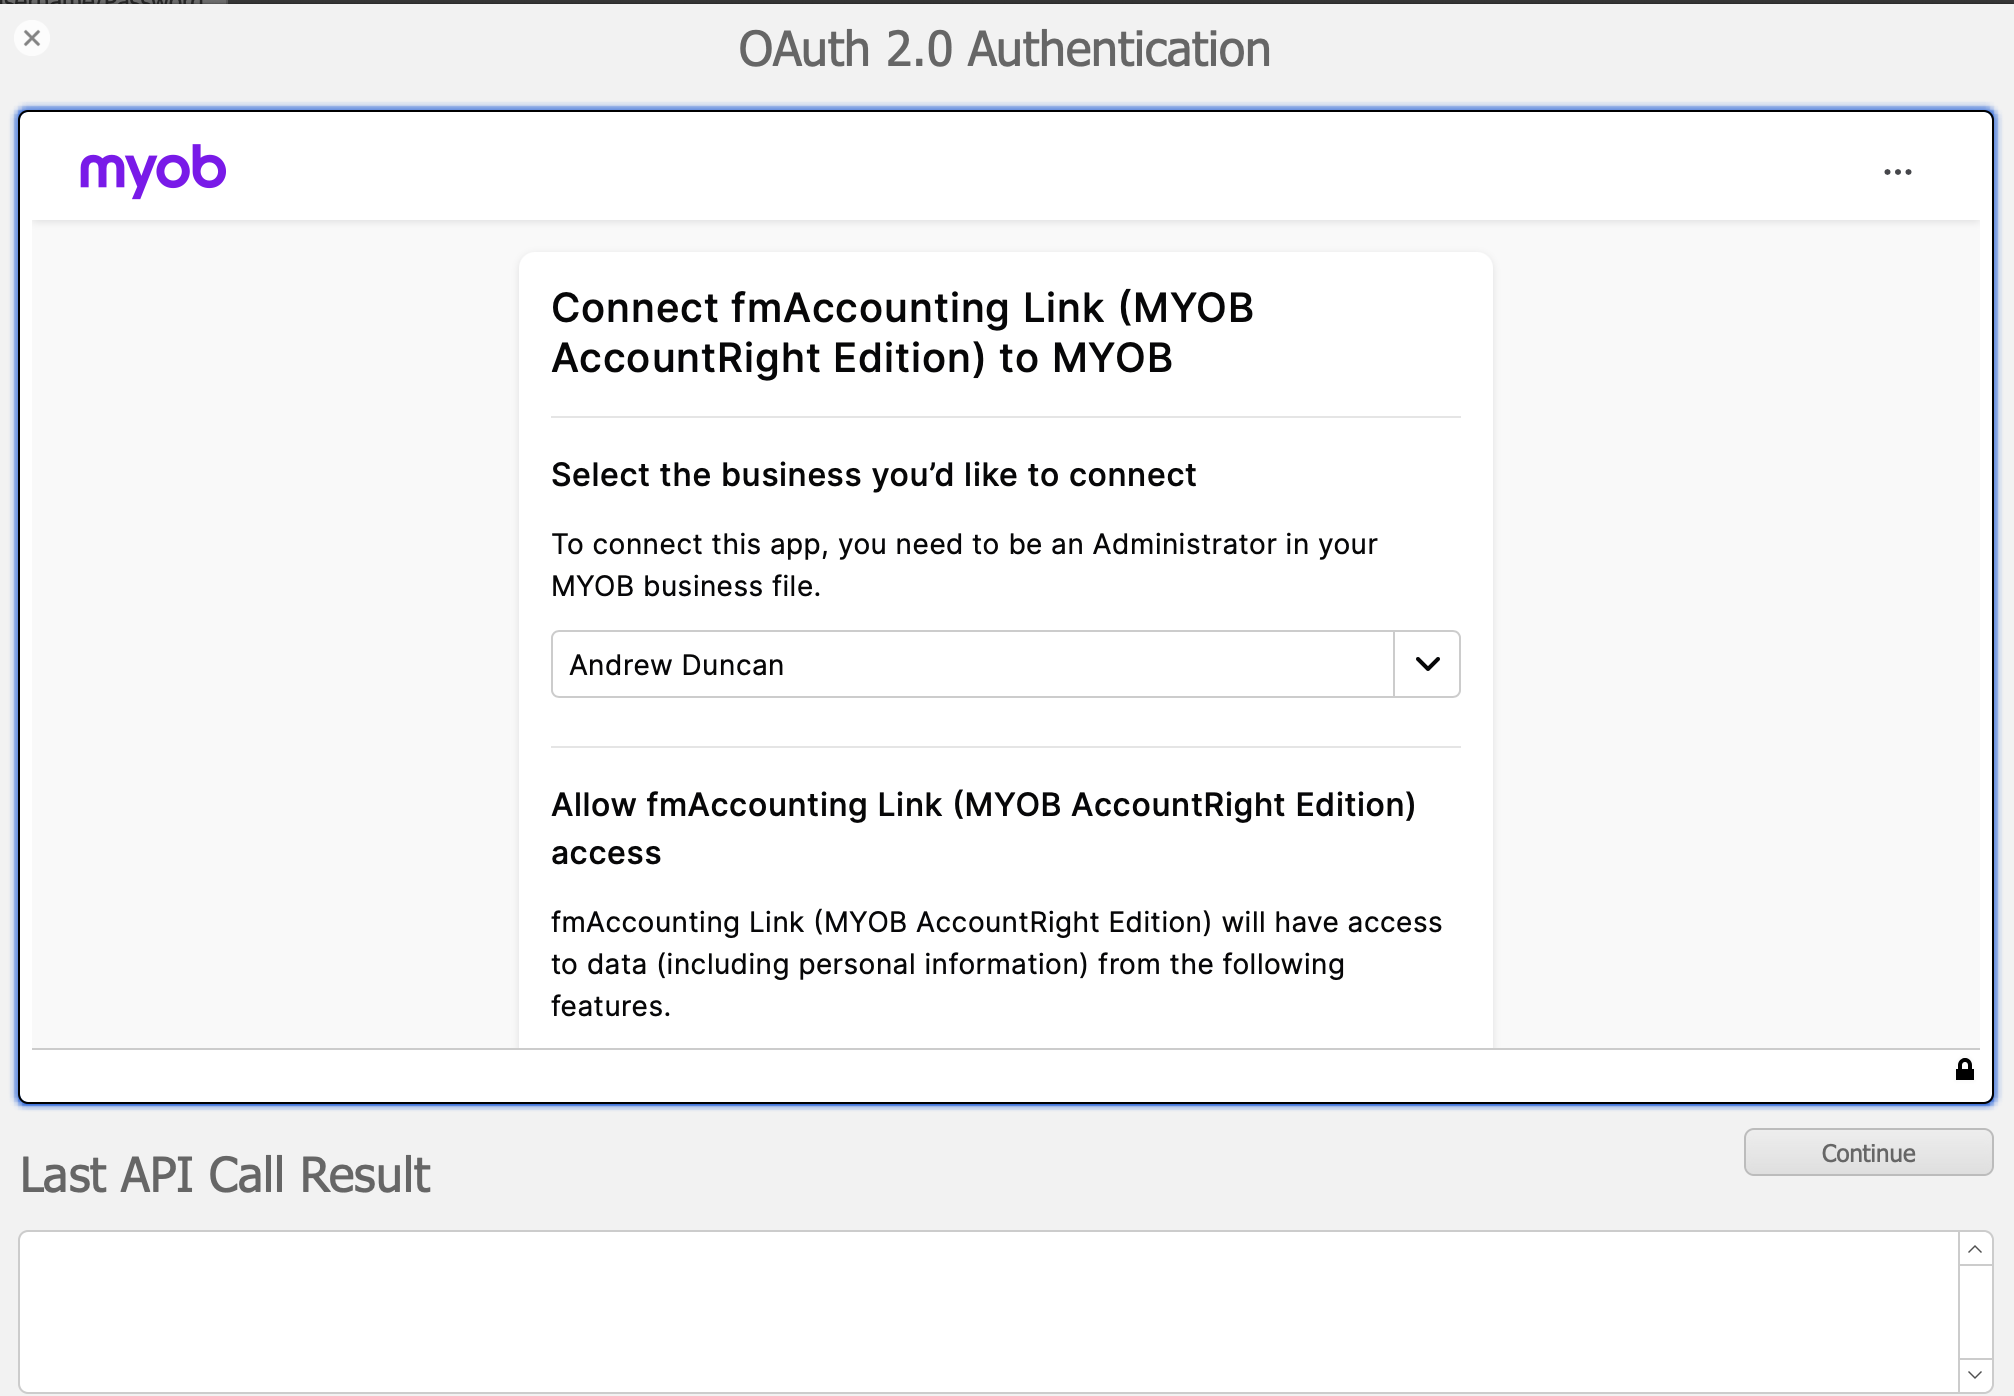
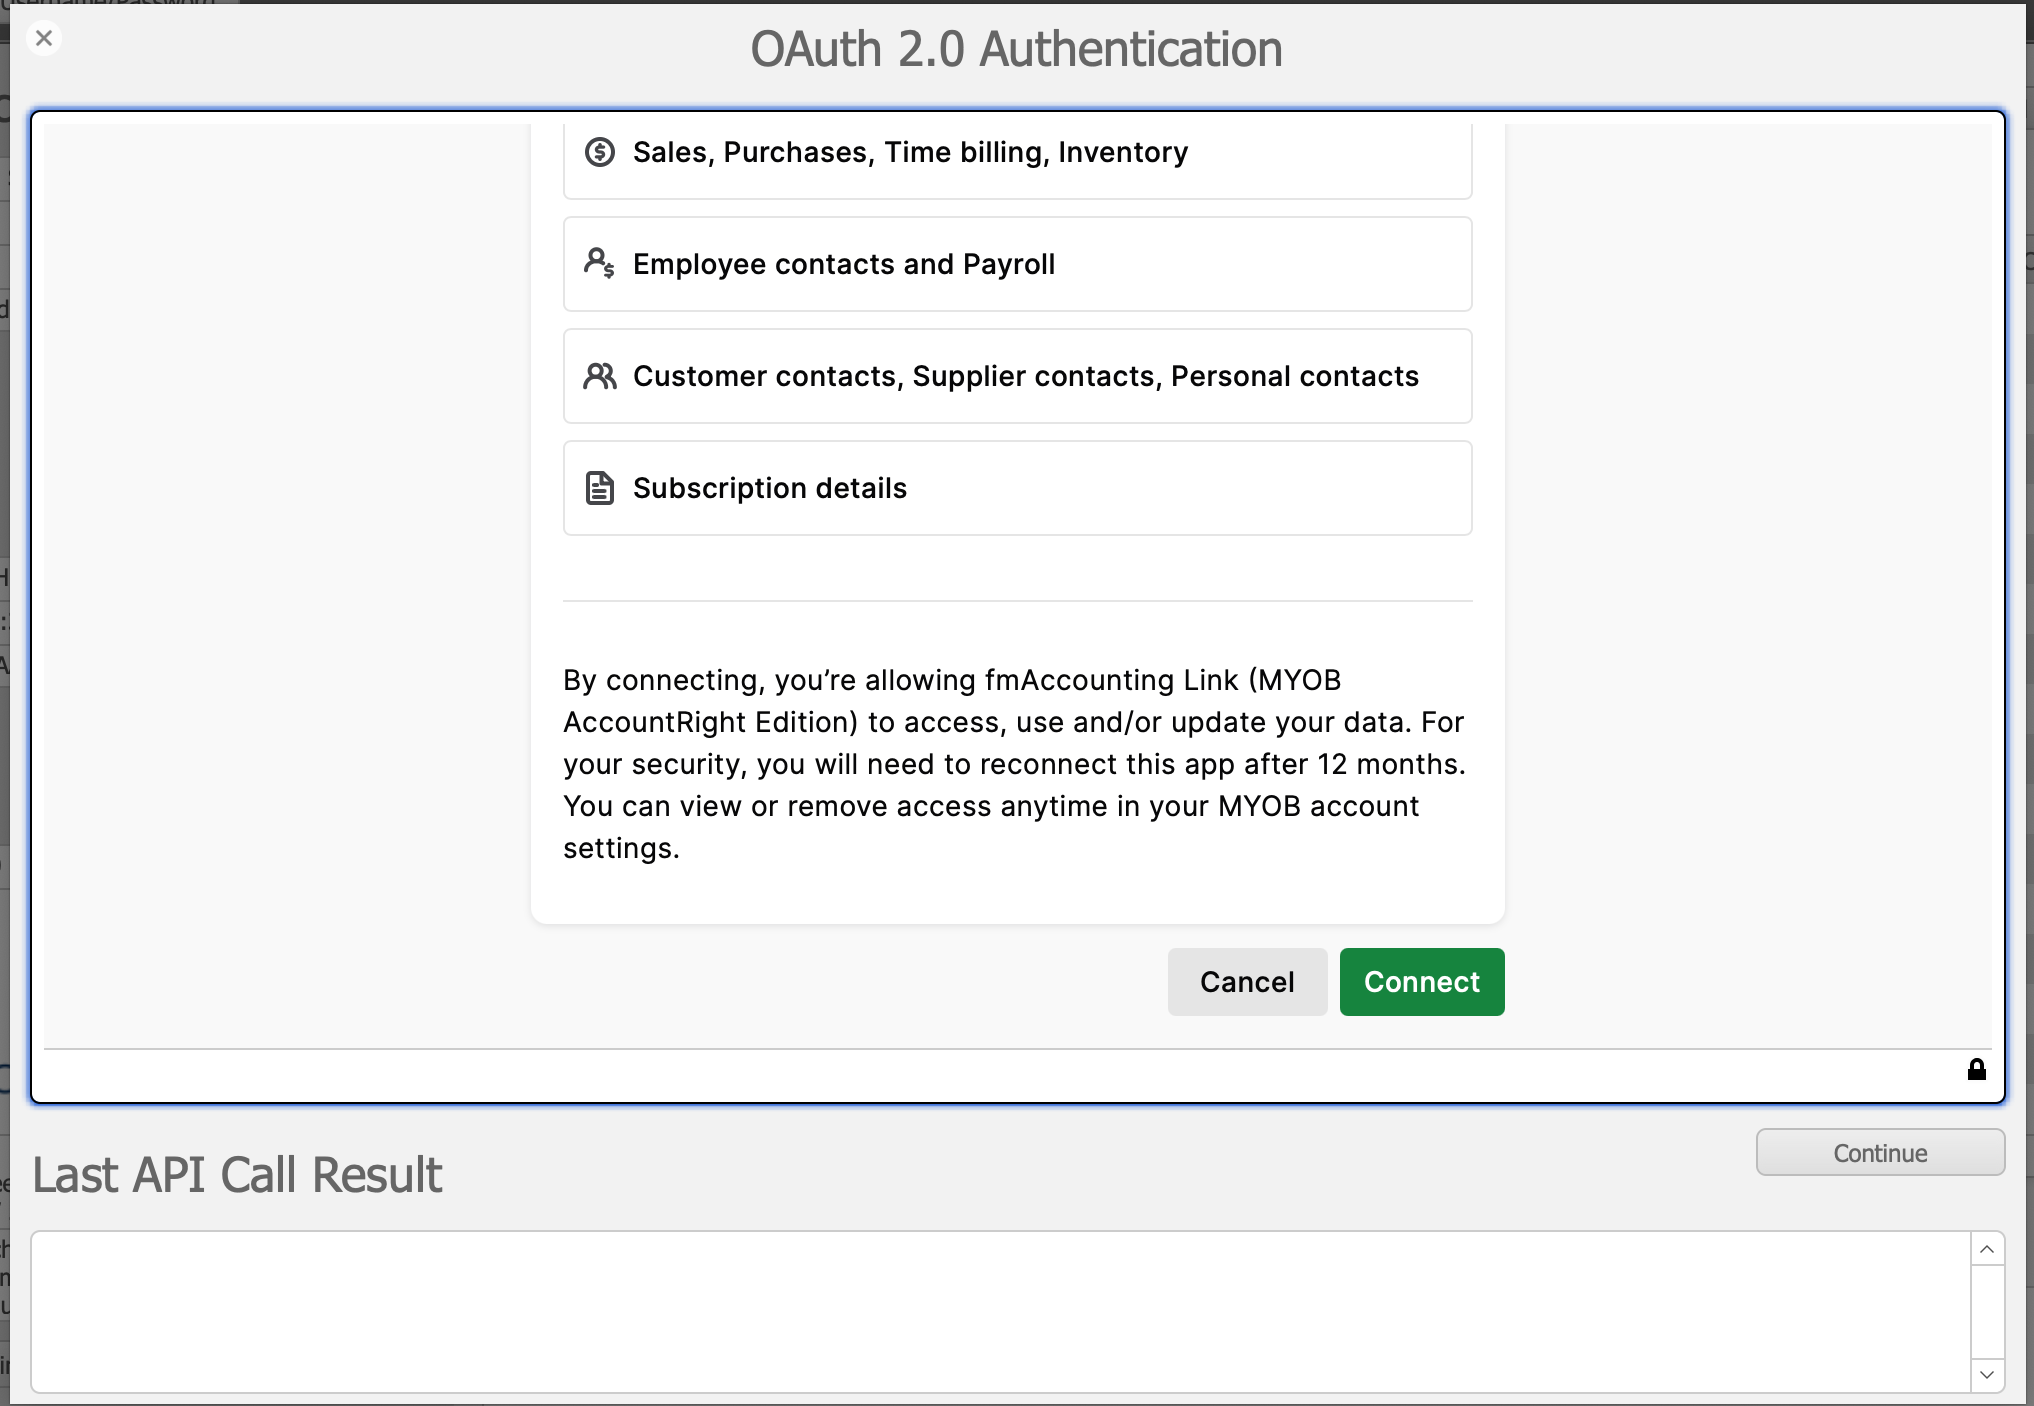
Click the Connect button to continue. If you entered the correct my.MYOB login credentials the Web Viewer will redirect to the Databuzz website. When this appears click the Continue button in the bottom right hand corner to proceed:

You should then see the following dialog box confirming that you have authenticated successfully with the Cloud API and the Web Viewer card window will close:

The tokens that were generated during the authentication process will now be populated in these fields:

These will be used to authenticate with the MYOB API from now on – you won’t be required to login to your my.MYOB account unless your Refresh Token expires. Access Tokens expire after 20 minutes (we keep track of this in the Expires At field) and can be refreshed automatically using the Refresh Token. Refresh Tokens expire after 1 week: if you don’t refresh your access token within 1 week you will need to click the Authenticate button and login to your my.MYOB account to generate a new set of tokens.
A Company File record will be created and selected in the MYOB Company File field which matches the MYOB Business file you selected during the authentication flow above. If you have linked your Company File User ID to your my.MYOB login you need to check this checkbox in the MYOB Company screen:

Click the Enter MYOB Username/Password button at the top of the screen to enter your login credentials for the selected MYOB Company File.
To test that the connection is working successfully we recommend making a few requests to the AccountRight API, such as downloading some data such as your list of Account Codes or Tax Codes:
- click on the General Ledger TAB then the Accounts TAB and click the Import Accounts button. The full list of Account Codes from the selected AccountRight file should be downloaded:
- click on the General Ledger TAB then the Tax Codes TAB and click the Import Tax Codes button. The full list of Tax Codes from the selected AccountRight file should be downloaded
If these are successful you can download other configuration data on the General Ledger TAB, then click on the General TAB and download your customers and suppliers from the Contacts TAB and your Inventory Items from the Items TAB. Finally you could create a new Customer or Supplier in the Contacts module and upload this to AccountRight.
You can also watch this short video below that demonstrates how to setup the Cloud API:
Desktop API Setup
Working with the AccountRight API on your local computer (Windows only) or on a network server only takes a few minutes to setup. We will assume you have successfully installed the AccountRight Server Edition and are ready to connect the fmAccounting Link file to your AccountRight company file. You can also use the sample Clearwater Pty Ltd company files that are installed as part of MYOB AccountRight if you do not wish to use your live AccountRight company file for testing the trial version.
To begin click on the MYOB COMPANY navigation button at the top of the screen which takes you to the MYOB Preferences screen where you can start the authentication process and select the Company File you wish to use:

API Type: select Desktop
Desktop API URL: if you are accessing the API on the same computer enter:
http://localhost:8080/accountright/
If you are accessing the API on a network server enter:
http://[IP ADDRESS OF COMPUTER TO ACCESS]:8080/accountright/
For example
http://192.168.1.46:8080/accountright/
Please make sure you include the trailing “/” at the end of the URL.
You can ignore all the other options at this stage. You are now ready to test that you can authenticate against the Cloud API. Click the Authenticate button at the top of the screen and the fmAccounting Link file will attempt to connect to the API. If the request is successful you will get this confirmation dialog box:
The Last API Call Result field will contain a JSON object of all the Company Files that were found on your AccountRight Server, otherwise it will contain details about the error with your request.
Once you have successfully authenticated with the Desktop API you are now ready to select which of your available AccountRight Company Files in the Cloud you wish to work with when making API requests. Click on the Company Files TAB then click the Import All Company Files button to download the list of Company Files into FileMaker:

You can now select the MYOB Company File to use from the MYOB Company File list:

then click the Enter MYOB Username/Password button at the top of the screen to enter your login credentials for the selected MYOB Company File.
To test that the connection is working successfully we recommend making a few requests to the AccountRight API, such as downloading some data such as your list of Account Codes or Tax Codes:
- click on the General Ledger TAB then the Accounts TAB and click the Import Accounts button. The full list of Account Codes from the selected AccountRight file should be downloaded:
- click on the General Ledger TAB then the Tax Codes TAB and click the Import Tax Codes button. The full list of Tax Codes from the selected AccountRight file should be downloaded
If these are successful you can download other configuration data on the General Ledger TAB, then click on the General TAB and download your customers and suppliers from the Contacts TAB and your Inventory Items from the Items TAB. Finally you could create a new Customer or Supplier in the Contacts module and upload this to AccountRight.
You can also watch this short video below that demonstrates how to setup the Desktop API:
If you have any questions or need assistance getting started with the trial version please contact us for further assistance.